Achieve Silky Smooth No-Bake Vegan Peanut Butter Pie Every Time
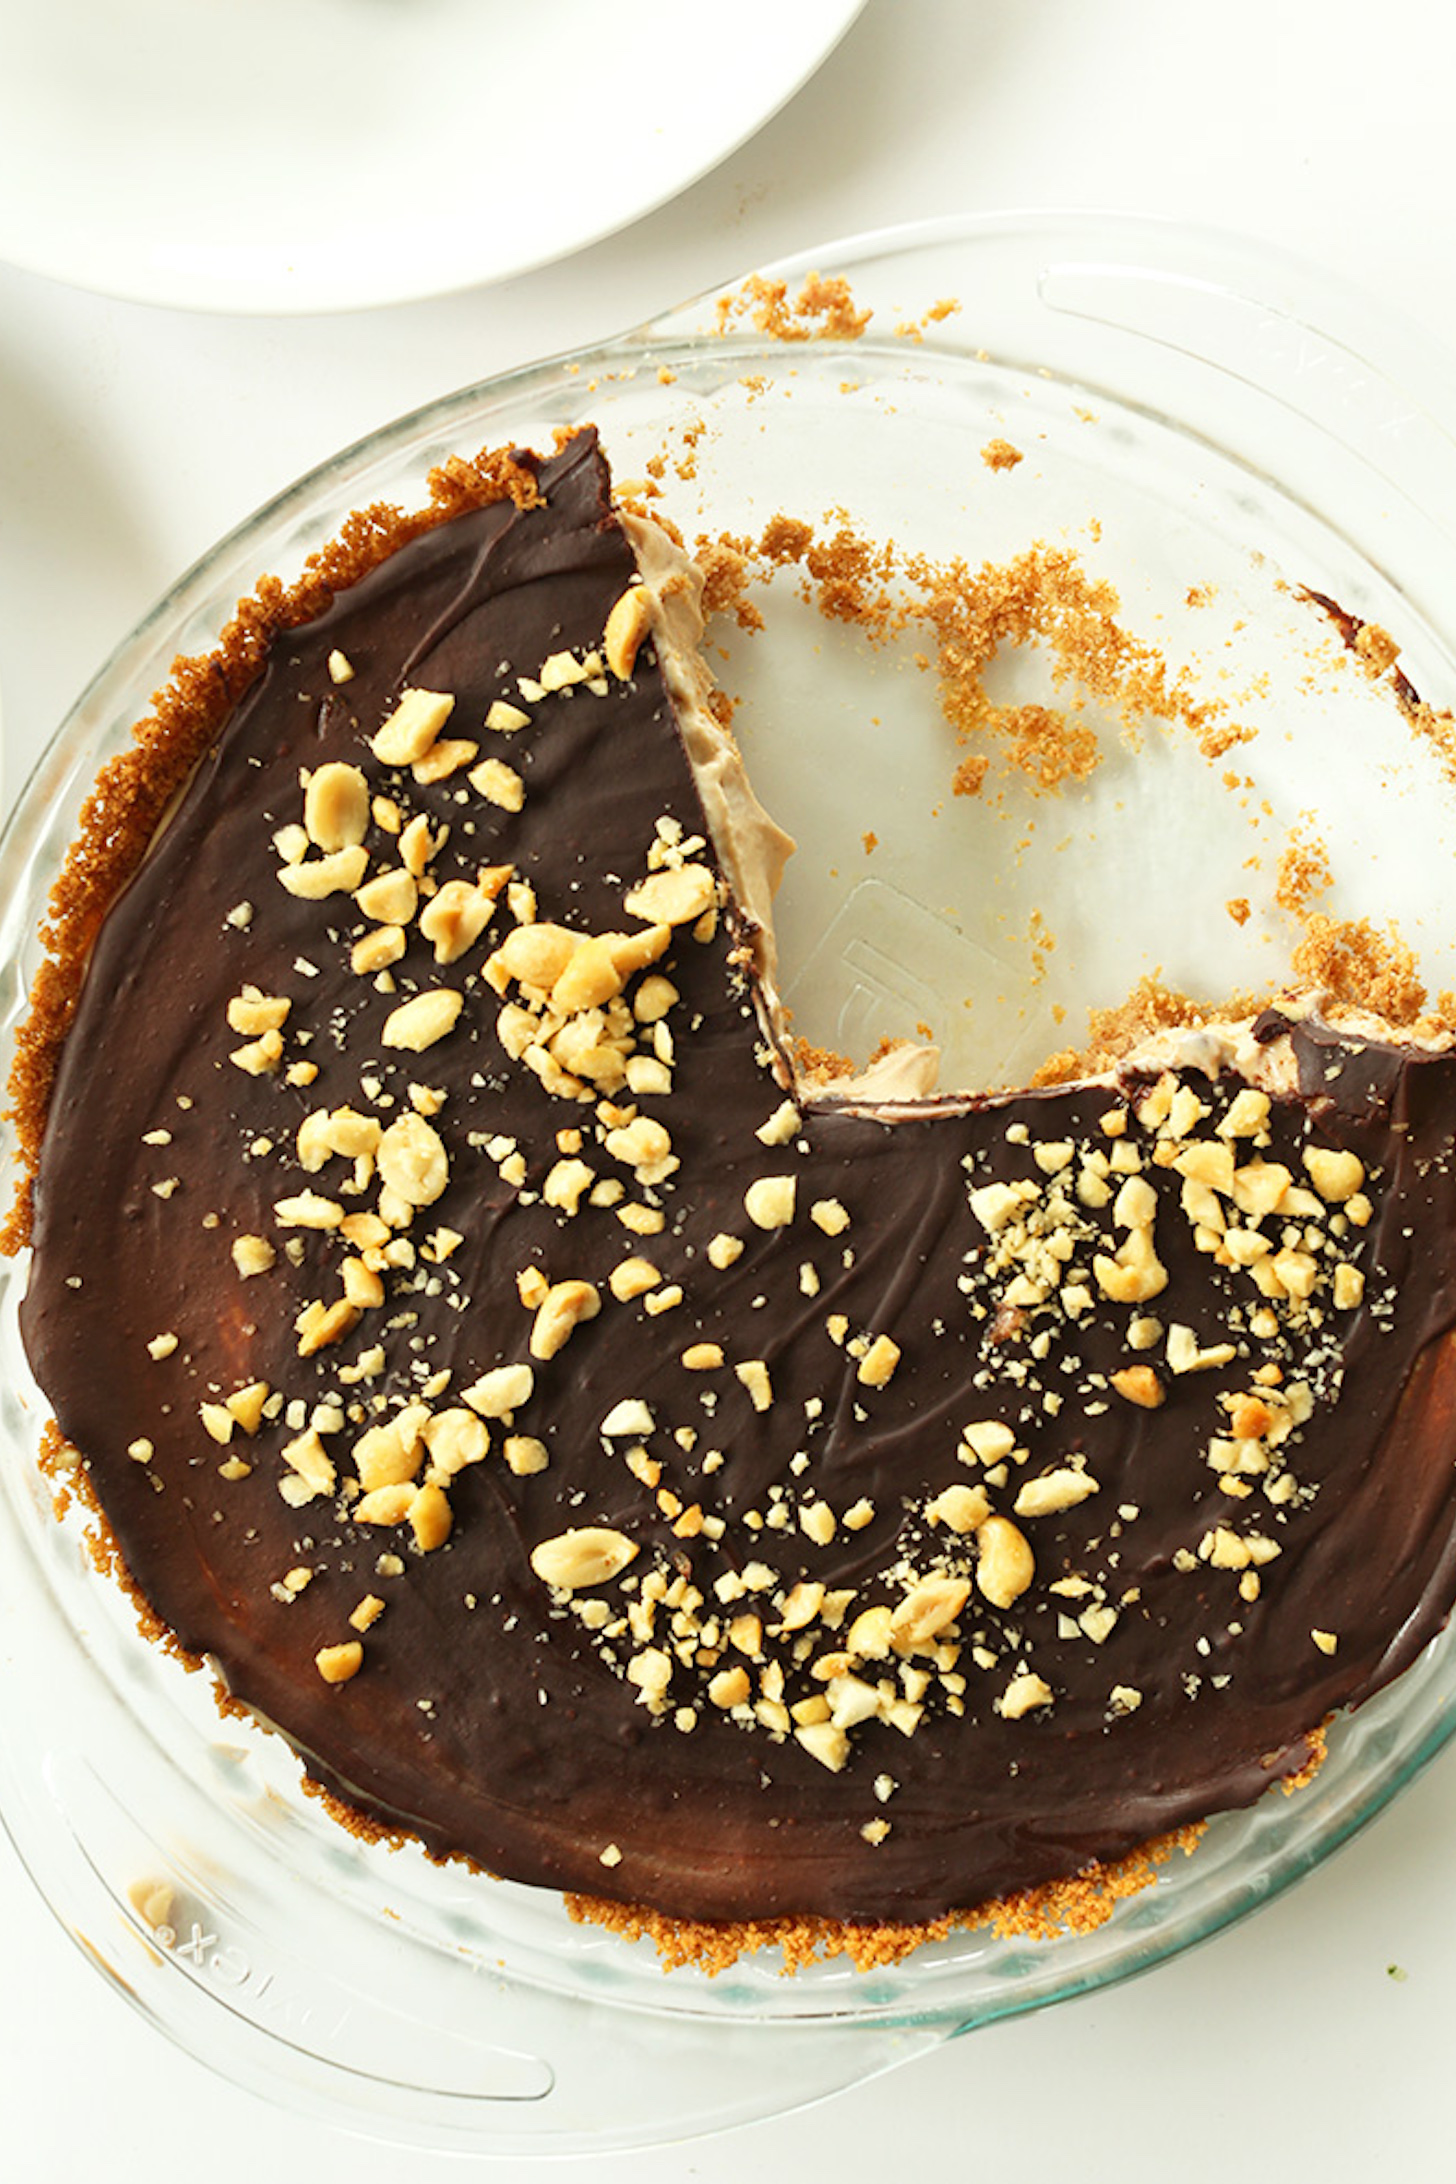
The irresistible combination of chocolate and peanut butter has captivated taste buds for generations. Imagine that iconic flavor profile transformed into a decadent, creamy pie that requires absolutely no baking. This isn't just a dream; it's the reality of a perfectly crafted
no bake peanut butter cup pie vegan. This dessert is a true showstopper, delivering a luxurious texture and rich taste reminiscent of your favorite candy, all while being entirely plant-based, gluten-free, and surprisingly simple to assemble. Say goodbye to oven worries and hello to effortless elegance!
Why a No-Bake Peanut Butter Cup Pie Vegan Reigns Supreme
In a world craving convenience without compromising on indulgence, this no-bake wonder stands out. Its inherent qualities make it a versatile dessert suitable for almost any occasion, from casual family dinners to sophisticated holiday gatherings.
Firstly, the "no-bake" aspect is a game-changer. For busy individuals or those hosting large events, freeing up oven space is an invaluable benefit. It's also the ideal choice for warmer months when turning on the oven feels like an unbearable chore. The assembly process is straightforward: layer, chill, and enjoy. The hardest part, as many attest, is patiently waiting for it to firm up in the freezer!
Secondly, its "vegan" nature broadens its appeal significantly. Crafted without dairy, eggs, or soy (depending on your choice of peanut butter and chocolate), it's a fantastic option for those with allergies, intolerances, or who simply choose a plant-based lifestyle. This pie allows everyone to partake in a truly delicious dessert experience without feeling left out. When made with an almond flour crust, it also naturally becomes gluten-free, ticking yet another box for dietary considerations. For a deeper dive into its many benefits, you might enjoy reading about how a
Dairy-Free, Gluten-Free Vegan Peanut Butter Pie: Your Perfect Dessert can be your ultimate go-to.
And finally, the "peanut butter cup" flavor profile is pure magic. It taps into a nostalgic sweet spot, combining the salty-sweet richness of peanut butter with the deep, satisfying bitterness of chocolate. Each bite is a harmonious blend that truly mimics the beloved candy, making this pie a guaranteed crowd-pleaser.
Mastering the Ingredients: The Secret to Silky Smoothness
Achieving that signature silky smooth texture and intense flavor in your
no bake peanut butter cup pie vegan hinges on understanding a few key ingredients and preparation tips. While the ingredient list is surprisingly short, their quality and how you handle them make all the difference.
1.
Coconut Oil – The Essential Solidifier: This ingredient is the unsung hero of no-bake desserts. Coconut oil is unique because it's liquid at warmer temperatures but solidifies beautifully when chilled, providing the structure and firmness needed for both the crust and the filling.
*
Refined vs. Unrefined: This distinction is crucial for flavor. *Unrefined* (or virgin) coconut oil retains a distinct coconut flavor, which can be lovely in some desserts but might compete with the peanut butter and chocolate here. For a pie that tastes purely of its namesake, opt for *refined* (or expeller-pressed) coconut oil. This type has been processed to remove the coconut flavor and aroma, ensuring your pie is a true celebration of peanut butter and chocolate.
*
Condition is Key: For the chocolate topping, ensure your coconut oil is melted to a liquid state before whisking, but for the crust and filling, it can be solid but soft, especially when working with room temperature ingredients.
2.
Room Temperature Ingredients – The Foundation of Smoothness: This seemingly small detail has a massive impact. Cold ingredients, especially maple syrup or peanut butter directly from the fridge, can cause the coconut oil to seize or clump up when mixed, leading to a lumpy, uneven texture.
* **Pro Tip:** Measure out your maple syrup and peanut butter an hour or so before you plan to start, allowing them to warm up naturally. This ensures all components blend seamlessly into a homogenous, velvety mixture.
3.
Quality Peanut Butter: For the best results, choose a natural, unsweetened creamy peanut butter. Check the label for ingredients – ideally, it should just be peanuts and maybe a touch of salt. Avoid varieties with added sugars or hydrogenated oils, as these can alter the pie's texture and flavor significantly. The natural oils in good quality peanut butter contribute to the overall richness.
4.
Cacao Powder: For the chocolate elements, both raw cacao powder and Dutch-processed cocoa powder work well. Cacao powder tends to be richer in antioxidants and offers a slightly more intense, bitter chocolate flavor, while cocoa powder is often milder. Experiment to find your preferred depth of chocolate.
5.
Almond Flour: This is the star of the gluten-free crust. Its fine texture and natural oils bind beautifully with the other crust ingredients, creating a tender yet firm base. For insights into perfecting that classic chocolate peanut butter cup taste, explore our article on
No-Bake Vegan Peanut Butter Pie: Easy Chocolate Peanut Butter Cup Taste.
Step-by-Step Perfection: Crafting Your Dream Pie
Crafting a
no bake peanut butter cup pie vegan involves three distinct layers, each contributing to the overall sensory experience. Patience and attention to detail during each step will ensure your pie is picture-perfect and delicious every time.
1. The Irresistible Chocolate Crust
This foundational layer sets the stage for the rich flavors to come.
*
Combine: In a medium bowl, thoroughly stir together almond flour, cacao powder, maple syrup, softened (but not melted) coconut oil, and a pinch of salt. The mixture should gradually come together, forming a sticky, uniform ball. This stickiness is key; it ensures the crust will hold its shape.
*
Prepare Pan: Line an 8-inch pie pan or springform pan with parchment paper. This simple step is vital for easy removal of the pie once set. If using a springform, pressing the parchment up the sides helps create clean edges.
*
Press and Chill: Press the chocolate crust mixture evenly into the bottom of the prepared pan. Use the back of a spoon or your fingertips to create a compact, smooth layer. Place the pan in the freezer to firm up while you prepare the filling. This pre-chilling prevents the filling from softening the crust, ensuring a distinct separation.
2. The Silky Smooth Peanut Butter Filling
This is where the magic of "silky smooth" truly comes to life.
*
Blend, Don't Whisk: While it might be tempting to simply whisk the filling ingredients, using a blender makes an enormous difference. Combine the room temperature peanut butter, maple syrup, refined coconut oil, a splash of water, and salt in a high-speed blender. Blend until the mixture is incredibly smooth and creamy, almost like a thick milkshake. The blender’s power emulsifies the ingredients perfectly, preventing any graininess and incorporating a bit of air for a lighter feel.
*
Pour and Set: Pour the luscious peanut butter filling over your chilled crust. Gently tap the pan on the counter a few times to release any air bubbles and ensure an even top. Return the pan to the freezer, making sure it’s on a flat surface so the pie sets perfectly level.
3. The Decadent Chocolate Topping
The final flourish that brings the "peanut butter cup" experience full circle.
*
The Choice is Yours: You have two main options here:
*
Swirl: Make the topping immediately after pouring the peanut butter filling. Drizzle the chocolate mixture over the unset peanut butter layer and use a skewer or knife to create beautiful swirls. This creates a marbled effect.
*
Layered Topping: If you prefer a distinct chocolate layer, wait until the peanut butter filling is completely frozen (at least 2-3 hours). This allows for a clean, sharp separation between the layers.
*
Mix it Up: To make the topping, combine cacao powder, maple syrup, and *melted* (liquid) refined coconut oil. Whisk them together until the chocolate is smooth and glossy. Ensure all ingredients are not cold, as this can cause the coconut oil to harden prematurely.
*
Drizzle and Decorate: Once the chocolate topping is ready, pour or drizzle it over the pie. For extra flair and texture, sprinkle a few crushed peanuts on top, or a pinch of flaky sea salt to enhance the flavors.
Tips for Success and Elegant Serving
To ensure your
no bake peanut butter cup pie vegan is a resounding success every single time, keep these practical tips in mind:
*
Chilling Time is Crucial: Patience is truly a virtue here. While the pie can be firm enough to slice after a few hours in the freezer, allowing it to chill for at least 4-6 hours, or ideally overnight, will result in the best, most stable texture.
*
Storage Savvy: This pie loves the cold. Due to the coconut oil, it will soften and eventually melt if left at room temperature for too long. Store it in the freezer until about 10-15 minutes before you plan to serve. This brief period out of the freezer allows it to soften just enough for perfect slicing and a delightful, creamy mouthfeel.
*
The Art of Slicing: For clean slices, use a sharp knife warmed under hot water (and dried) between each cut. This helps glide through the firm layers without dragging.
*
Beyond Peanuts: While crushed peanuts are classic, feel free to get creative with your garnishes. A dusting of extra cacao powder, vegan chocolate shavings, a sprinkle of flaky sea salt, or even a few fresh raspberries can add visual appeal and a contrasting flavor note.
*
Troubleshooting Softness: If your pie seems too soft even after ample chilling, it might be due to slightly less coconut oil than needed or warmer room temperature ingredients. For future attempts, ensure precise measurements and proper room temperature for ingredients. If it's too hard, simply let it sit out for an extra 5-10 minutes before slicing.
Conclusion
Creating a truly irresistible
no bake peanut butter cup pie vegan is an achievable feat for any dessert enthusiast. By understanding the roles of key ingredients like refined coconut oil and embracing the power of a blender for that signature silky filling, you can consistently produce a dessert that is not only naturally free from common allergens but also profoundly delicious. This pie offers the perfect blend of convenience, indulgence, and dietary consciousness. So, go ahead – assemble, chill, and prepare to delight in a dessert that captures the beloved taste of a chocolate peanut butter cup, redefined for the modern, plant-based palate. Enjoy every heavenly, smooth bite!